Studio before, during and after
Share
Welcome. As promised here is a detailed look at the renovation of the room that is my art studio. It is the best room in the house (I'm not just saying that as it is my creative space, but) because it gets the most light. Two large windows flood the room with light, making it perfect for drawing and painting in. Of course, there was quite a lot of work to do before I could make it into the perfect studio.
This is what the studio looked like before starting the renovation. I set up a temporary drawing desk but rarely got to draw as the first 2 months were spent painting and fixing other areas of the house (see previous blog posts one and two).

As you can see the wallpaper was old and yellowing, the brown aluminum window made the room feel darker, and the blinds were stained and decaying. We purchased the desk and chair from freedom furniture, and we borrowed the rug from my parents but it still wasn't an ideal space to create in.
It was only after we had finished painting and renovating the master bedroom that I turned my attention to my studio. At this stage, our furniture and belongings had finally arrived from Australia and we had begun talks with our joiner for new windows.
I started to remove the wallpaper and quickly gave up after getting nowhere in the first few hours using a wallpaper scorer, scraper, and liquid stripper. I decided to use 'google' to search for a better method and discovered this five-minute video on youtube. If ever you have wallpaper to remove try this method, it will save you hours, and was so easy.

Look how much there was! And already the room feels lighter. Next, it was time for the plasterer to come in and skim the walls. It was moving into winter so we had to have a heater and dehumidifier on for a day or two for the plaster to dry.

Not quite dry in the corners yet, but look how good the walls came up.
A week later the joiner arrived to take the front window and surround away to use as a template for the new windows. The window was boarded up and from the outside, our villa looked a little derelict.


Outside and inside views of boarded-up window
Getting to this point where we could start painting soon was so exciting, even if missing a window. The new windows and surrounds took about a month, and a week to install.

New surround going in. Let there be light!

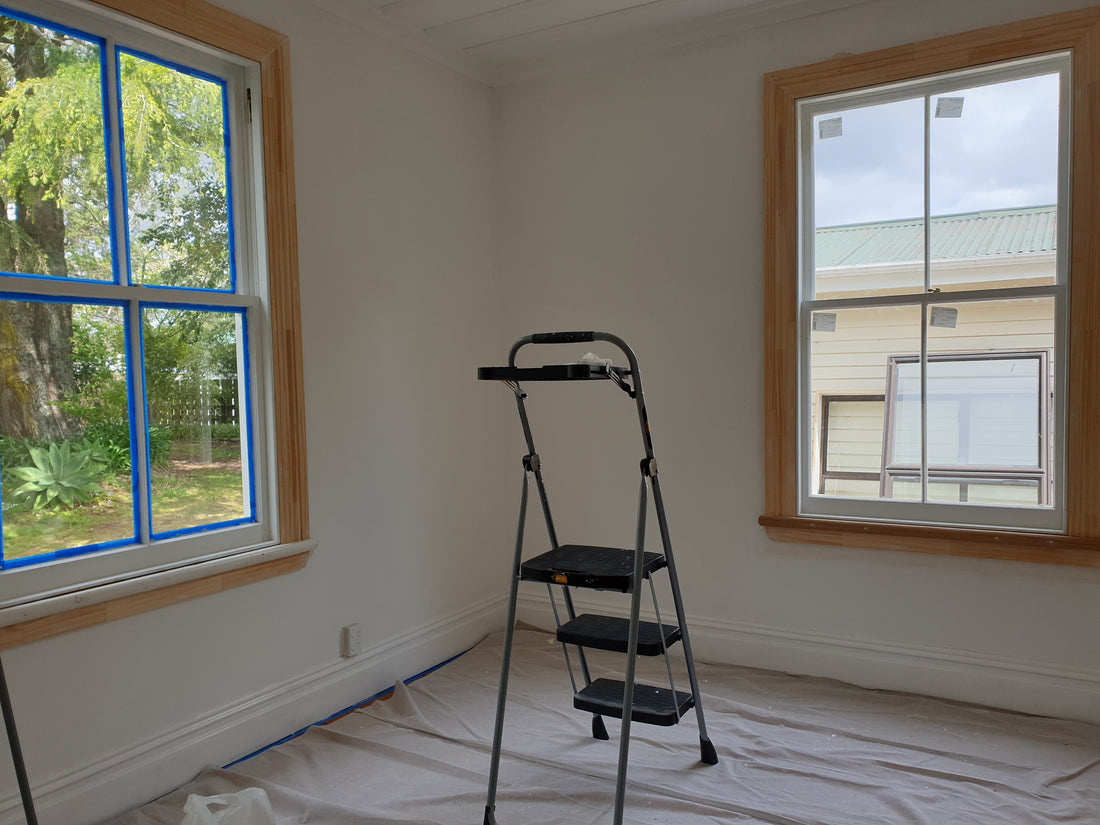
Painting the studio while the new side window was installed.
Windows are in, and the final coat of paint is going on.

We painted the joinery and soon it was time to unpack my art supplies and move the furniture in.
It was chaos before everything was organised and put in its place.

Lots of boxes were unpacked and it was fun making the space the way I had always imagined.
This is how it was once everything was unpacked.

This is how it is now - over two years later.


The studio isn't always clean. Most days there are paints and pencils out on top of the desk, and cat beds in the middle of the floor as a way to stop the cats from hopping onto the desk (as you can see not always successful) but it is a space that is full of warmth and light and continues to nurture my creativity.

I hope you have enjoyed the detailed look at my art studio. In my next blog, I will delve into my creative process and how I put a collection together. Until then take care.
